


Brake caliper rebuild kits are DIY-friendly tools for enhancing vehicle brakes, costing less than full system replacements. They restore or upgrade critical components, improving safety and performance through better maintenance. To select the right kit for front and rear brakes, ensure compatibility with your vehicle model, prioritize high-quality materials, and check for included intake components like seal kits. Using a universal kit, prepare a clean workspace, remove wheels and old parts, replace worn components, reassemble, reconnect lines, test gently, and consult a professional if needed.
“Discover the power of complete brake upgrades with front and rear compatible caliper rebuild kits. These all-in-one solutions offer an efficient, cost-effective way to revitalize your vehicle’s stopping power.
In this guide, we’ll walk you through the process, from understanding these kits’ crucial role in enhancing braking performance to choosing the perfect fit for your needs. Learn how a universal kit can simplify rebuilding, ensuring both front and rear brakes operate at peak condition.”
- Understanding Brake Caliper Rebuild Kits: Their Role and Benefits
- Choosing the Right Kit: Factors to Consider for Front and Rear Brakes
- Step-by-Step Guide: Rebuilding Your Brakes Using a Universal Kit
Understanding Brake Caliper Rebuild Kits: Their Role and Benefits
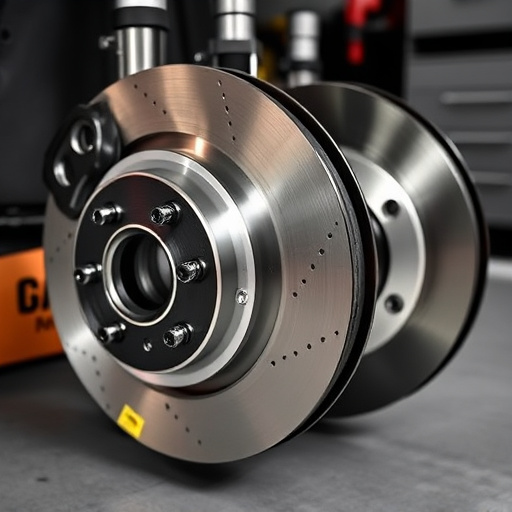
Brake caliper rebuild kits are essential tools for anyone looking to enhance their vehicle’s braking system. These kits play a pivotal role in ensuring optimal performance and safety by allowing drivers to restore or upgrade their brake calipers, which are crucial components of the braking mechanism. By providing all the necessary parts and tools, a rebuild kit enables DIY enthusiasts and mechanics alike to effectively tackle wear and tear, corrosion, or damage to the calipers.
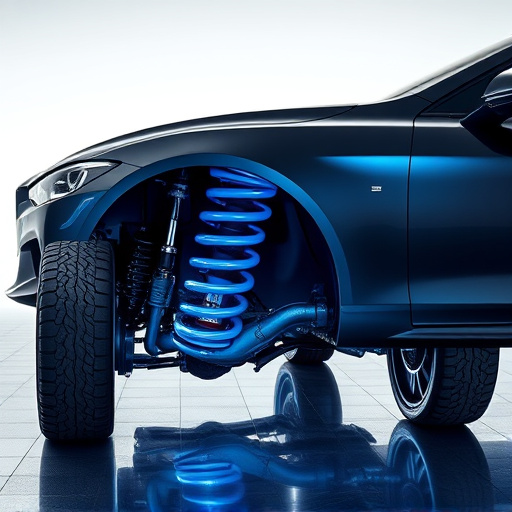
One of the key benefits is cost-effectiveness. Instead of replacing entire brake systems, which can be expensive, especially for performance vehicles, rebuilding offers a more affordable solution. It also allows for customization; users can choose kits tailored to their specific vehicle models, ensuring compatibility with front and rear brakes. Moreover, these kits often include high-quality suspension components, such as performance air filters, and instructions for proper installation, fostering better overall vehicle maintenance and potentially improving handling dynamics.
Choosing the Right Kit: Factors to Consider for Front and Rear Brakes
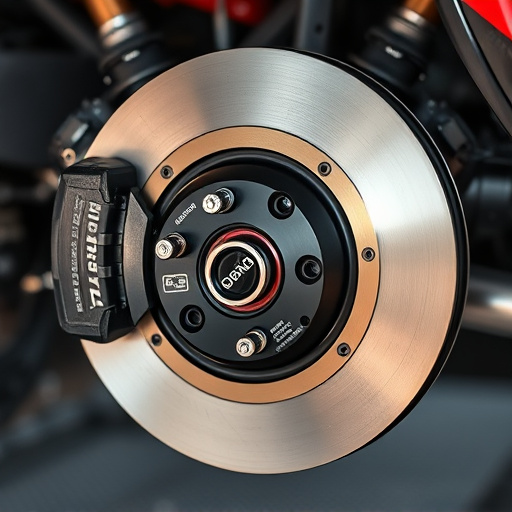
When selecting a brake caliper rebuild kit that caters to both front and rear brakes, several factors come into play. First, consider the compatibility of the kit with your vehicle’s make and model. Different cars have distinct brake systems, so ensuring the kit fits seamlessly is paramount. Check if the manufacturer provides specific instructions or guidelines for your vehicle to avoid any misfitments.
Secondly, assess the quality of the rebuild components within the kit. Look for high-grade materials, such as durable stainless steel or aluminum, which offer longevity and resistance to corrosion. Additionally, consider the inclusion of seal kits, pistons, and other intake components that are essential for a comprehensive overhaul. Some kits may also include coilover suspensions or related parts, catering to those seeking an all-around upgrade, including improved handling and reduced ride height.
Step-by-Step Guide: Rebuilding Your Brakes Using a Universal Kit

Rebuilding your brakes using a universal brake caliper rebuild kit that fits both front and rear can be a cost-effective way to ensure your vehicle’s stopping power. Here’s a step-by-step guide to help you through the process:
1. Prepare Your Workspace: Find a clean, well-lit area where you can comfortably work on your vehicle. Ensure you have adequate tools, including jack stands, wrenches, and socket sets, within reach. Safety first!
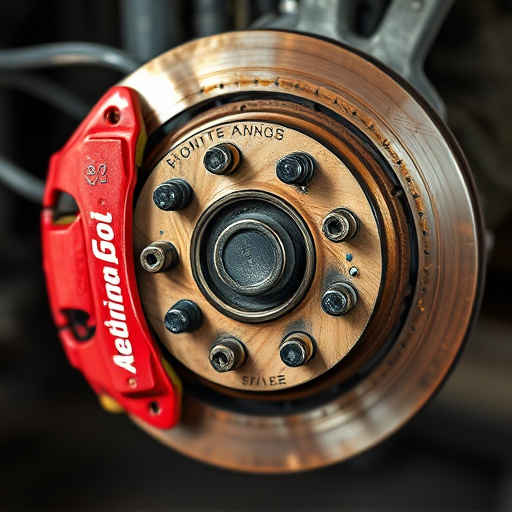
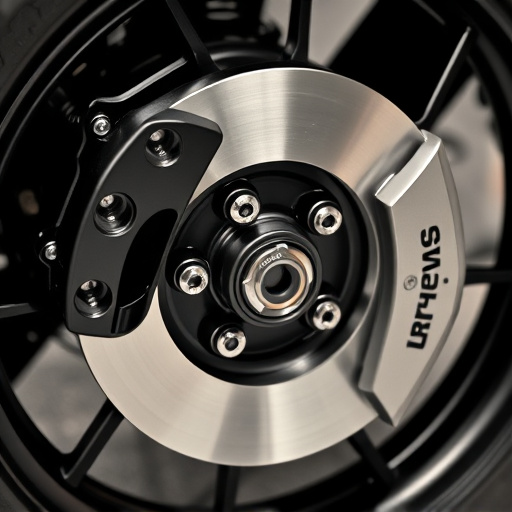
2. Remove Wheels and Brakes: Start by lifting your vehicle using the jack stands and removing the wheels. Then, carefully take off the old brake rotors (if applicable) and set them aside for inspection or recycling. Next, disconnect the calipers from the brake lines—be sure to tag each line for easy reassembly. Remove the calipers, paying close attention to how they’re mounted.
3. Inspect Components: Examine the piston, pads, and mounting hardware for wear or damage. Replace any faulty parts using components included in your brake caliper rebuild kit. This often includes new seals, pistons, and pads.
4. Reassemble with Care: Reattach the calipers, ensuring they’re securely mounted. Reconnect the brake lines, following the manufacturer’s instructions for proper alignment. Test the brakes gently before driving to ensure everything functions correctly.
Remember, working on your vehicle requires patience and precision. If you’re unsure about any step, consult a professional mechanic or refer to detailed tutorials specific to your vehicle model. With the right tools and a universal brake caliper rebuild kit, you can enhance your vehicle’s braking performance while saving money.
When it comes to maintaining your vehicle’s braking system, investing in a high-quality brake caliper rebuild kit that suits both front and rear brakes is an excellent choice. These kits offer a cost-effective solution for repairing and enhancing your brakes’ performance, ensuring better control and safety on the road. By following the step-by-step guide provided, you can confidently tackle the rebuilding process yourself, saving time and money while keeping your vehicle in top shape.