


Before tackling a brake caliper rebuild, ensure you have all necessary tools, parts, and performance upgrades like brake caliper rebuild kits. Remove and inspect old calipers, then reassemble with rebuilt kit components, adjusting for precise braking performance. Test brakes gently at low speeds to verify smooth, even operation, enhancing stopping power and safety.
Looking to refresh your vehicle’s braking system? This comprehensive guide walks you through the step-by-step process of installing brake caliper rebuild kits. From gathering the right tools and parts to removing and inspecting calipers, and finally installing and adjusting rebuilt components, each phase is clearly explained for a successful DIY brake upgrade using top-quality caliper rebuild kits.
- Gather Necessary Tools and Parts
- Remove and Inspect Brake Calipers
- Install and Adjust Rebuilt Caliper Components
Gather Necessary Tools and Parts

Before you begin the brake caliper rebuild process, it’s crucial to have all the necessary tools and parts on hand. This includes a complete brake caliper rebuild kit, which typically comes with everything needed for the job—from new seals and pins to hardware and lubricants. Ensure your kit is compatible with your vehicle’s make and model for a seamless experience.
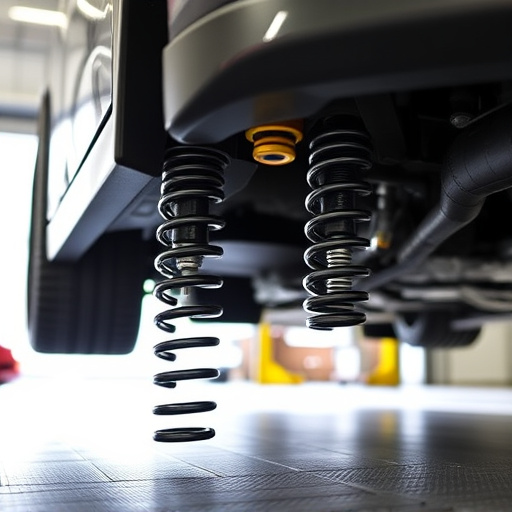
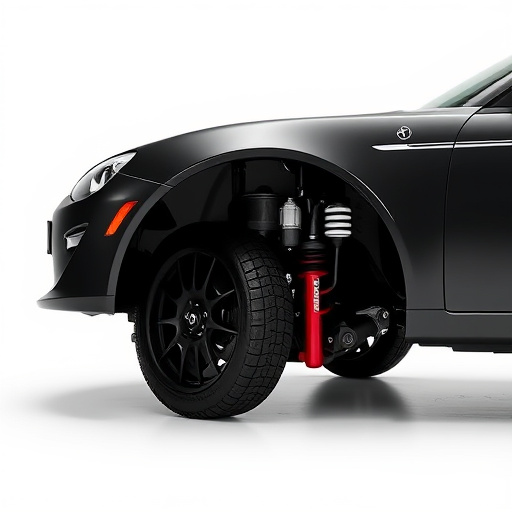
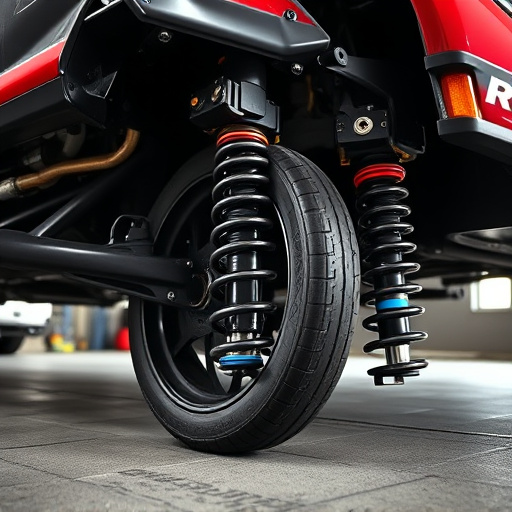
Additionally, gather other essential items such as jack stands, a floor jack, and a set of socket wrenches in various sizes. For those looking to enhance their performance brakes, consider having nearby any intake components or coilover kits you plan to install alongside the caliper rebuild. These additional modifications can significantly improve braking capabilities and overall vehicle handling.
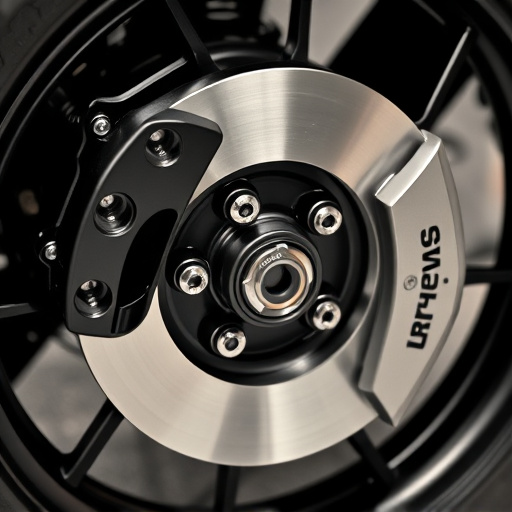
Remove and Inspect Brake Calipers
Before diving into the brake caliper rebuild process with your brake caliper rebuild kits, it’s crucial to start by removing and inspecting your old calipers. This step is essential for understanding the extent of damage or wear and ensuring a successful rebuild. Begin by raising the vehicle using jack stands, engaging the parking brake, and applying wheel chocks for safety. Then, locate and loosen the caliper pins using specialized tools. Once the calipers are free, carefully remove them from the brake disks, taking note of any signs of corrosion or damage.
Inspecting the calipers up close will give you valuable insights into their condition. Look for worn-out pads, damaged pistons, or any debris trapped within. These observations will guide your decision on whether to replace individual components or invest in a complete brake caliper rebuild kit. Remember, proper inspection is key to ensuring your vehicle’s braking system functions optimally after the rebuild.
Install and Adjust Rebuilt Caliper Components
After reassembling the caliper, it’s time to install and adjust the rebuilt components for precise braking performance. Ensure all bolts are securely fastened according to the manufacturer’s specifications. This step is crucial in maintaining the integrity of the brake system. Adjust the caliper slide pin or cylinder to ensure proper alignment and contact with the rotor, ensuring even pad wear.
Just like when installing any automotive upgrade, such as coilover kits or air filter kits, meticulous attention to detail is key. Verify that the caliper operates smoothly and evenly by testing the brakes gently at low speeds. This ensures the brake caliper rebuild kit functions optimally, enhancing your vehicle’s overall stopping power and safety.
Rebuilding your brake calipers using a kit is a feasible DIY project that can extend the life of your vehicle’s braking system. By following these steps and utilizing high-quality brake caliper rebuild kits, you can safely and effectively restore your brakes’ performance, ensuring a smoother and more controlled driving experience. Remember to always prioritize safety when working on your car, and consider seeking professional guidance if you encounter any complexities during the process.